Souplantation has always been one of my favorite places to eat. Even though they basically just serve soup, salad, and lots of carbs, something about it was just so good and I have so many memories there. I’ll never forget eating there every single time we would visit the mainland since they don’t have Souplantation in Hawaii. As I grew older, of course I became a club veg member so I could receive all the coupons and special offers. I ate there at least once a month, always looking forward to their new menu items and of course always sneaking an extra blueberry muffin in my purse on my way out.
When I found out Souplantation was permanently closing due to the Covid-19 pandemic, I was devastated. The thought of never having the tuna tarragon pasta or those fat noodles in the chicken noodle soup ever again broke my heart. My friends and I were all equally distraught so we decided to recreate some of the dishes at home for a (social distancing) potluck. I was in charge of creating the famous Asian Wonton Happiness salad which I put my own healthy twists on, of course, and surprisingly it turned out so good! Dare I say possibly better than the original? I wouldn’t go that far but I have been craving it for lunch every day since which definitely says something.
This salad is basically a Chinese chicken salad (I added chicken but souplantation’s version doesn’t have chicken) but what makes it so good is the sesame ginger dressing and the air fried wonton chips. All the yumminess of fried wonton strips without all the oil / deep frying for less guilt! I hope you guys give this recipe a try and pay homage to the great salad and soup buffet that we all love and will miss greatly. Enjoy :)


Air fried wonton strips
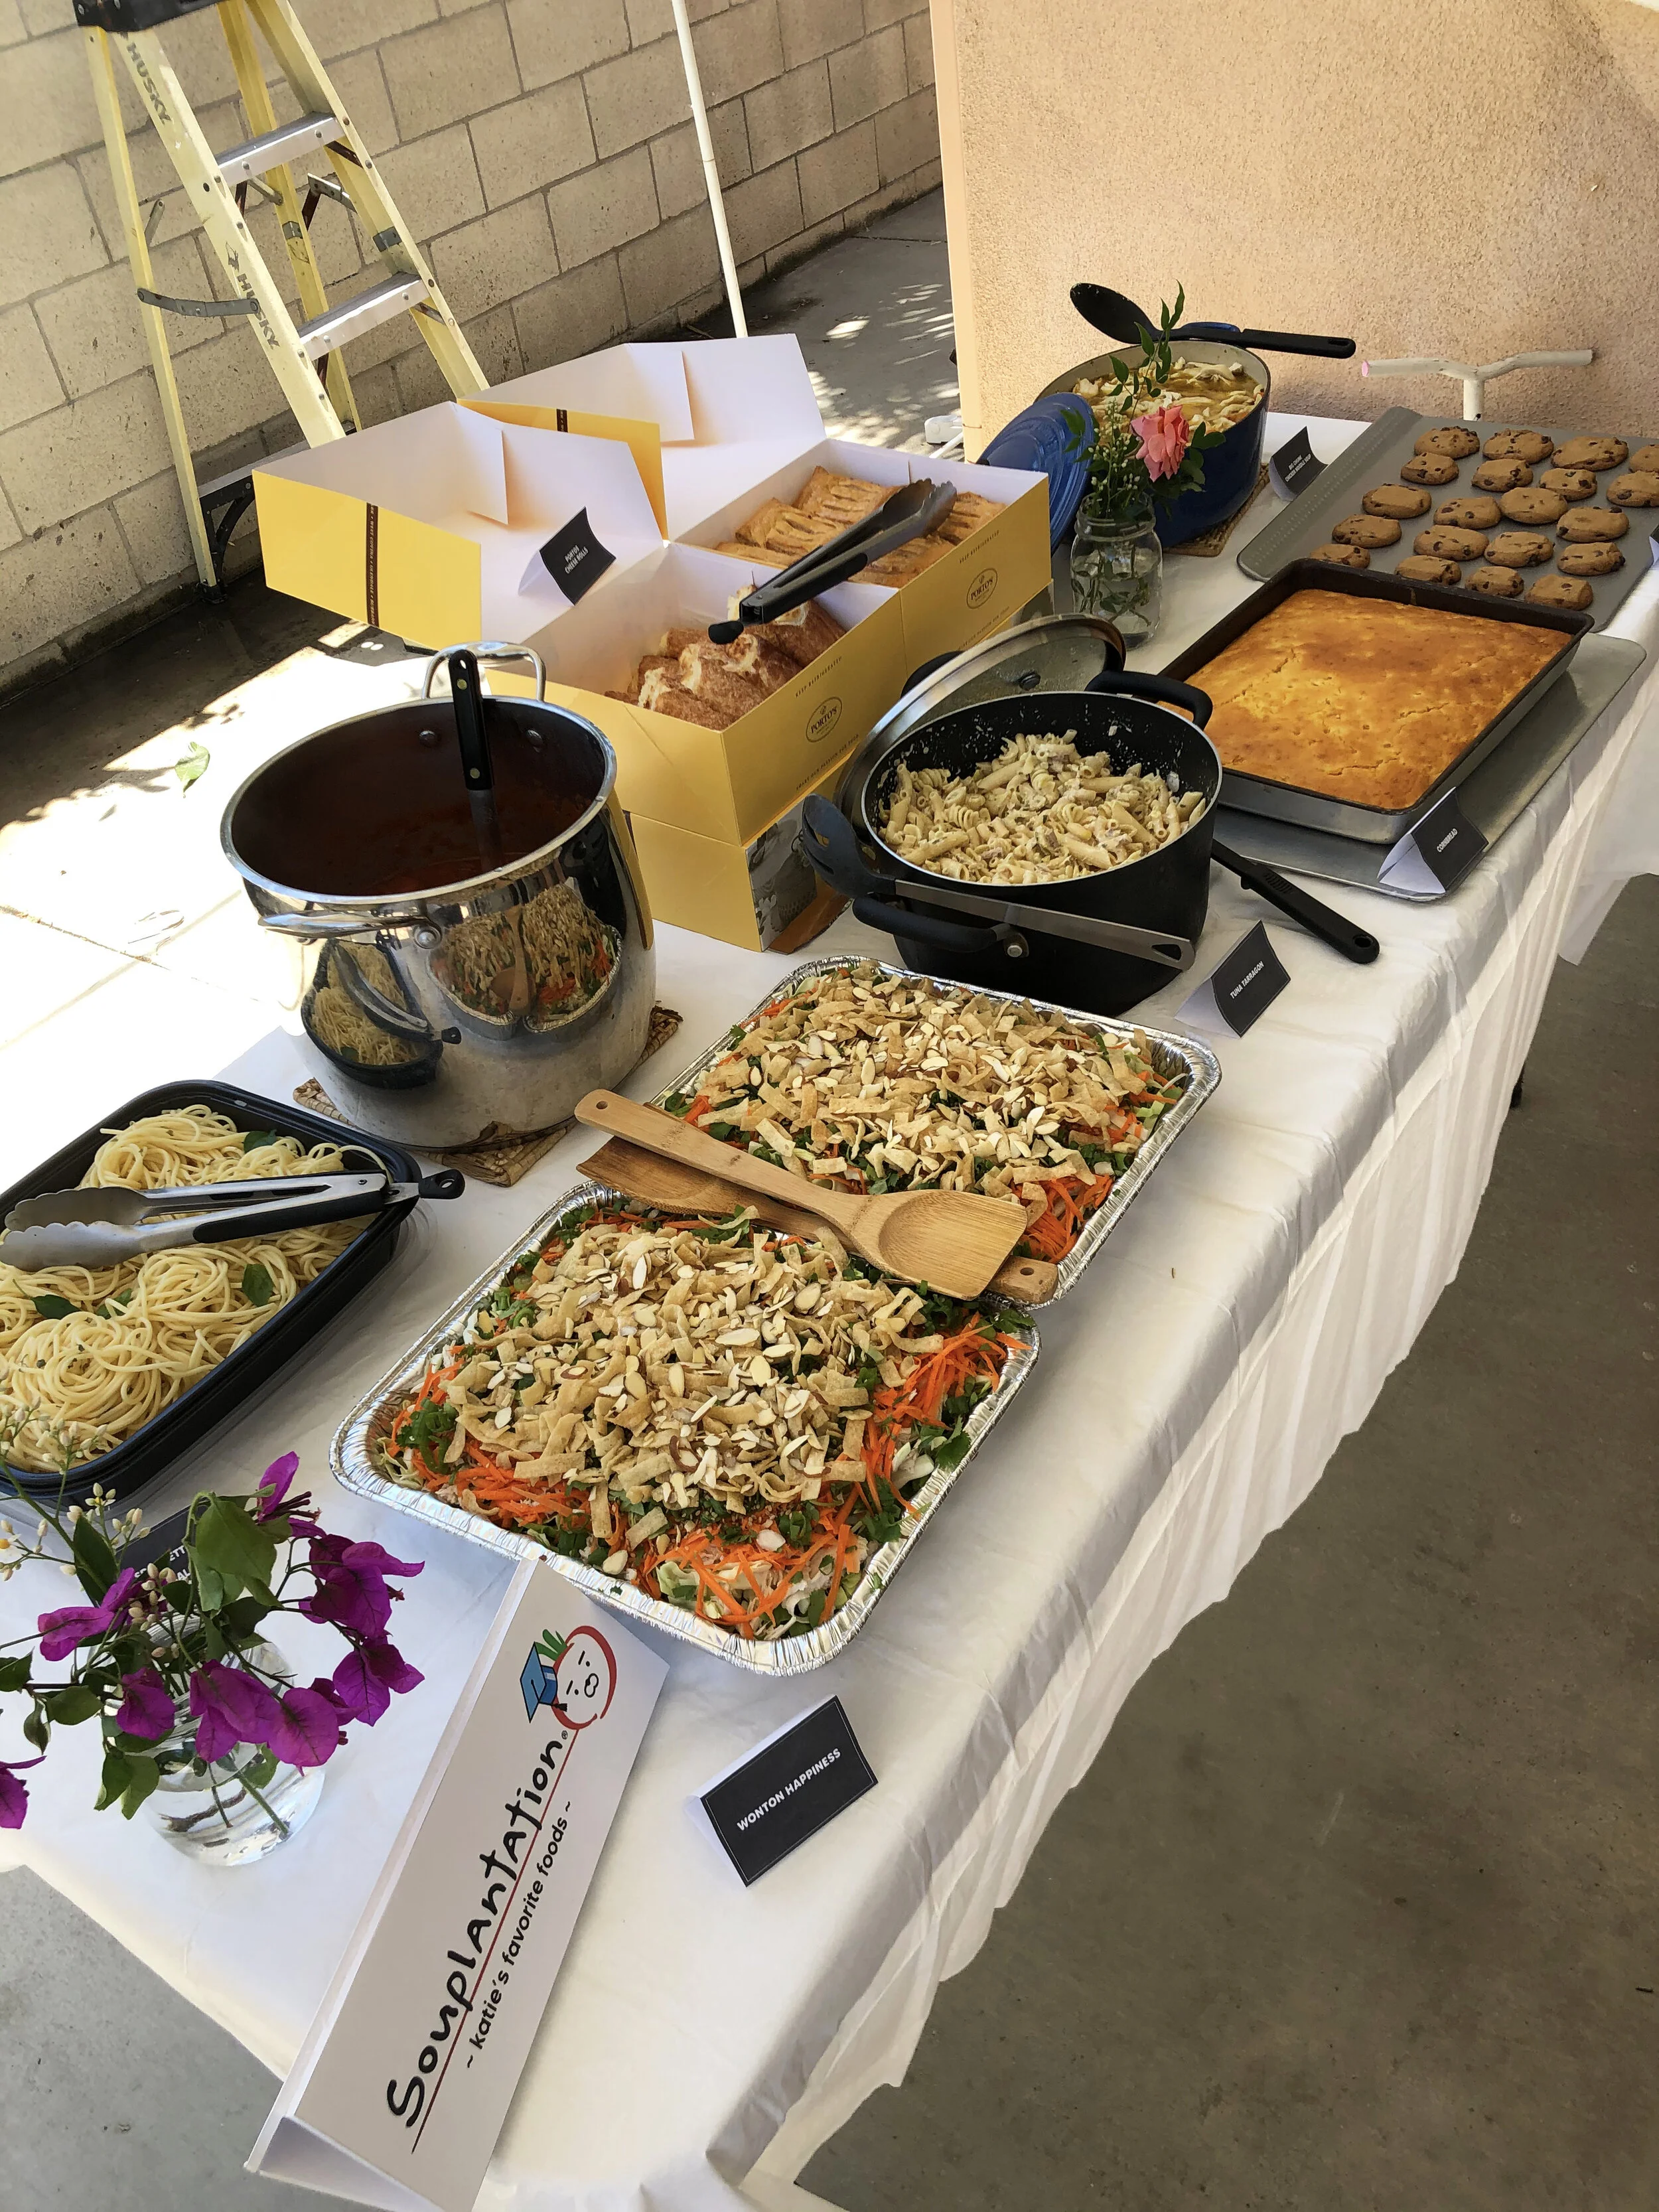
Souplantation potluck featuring homemade versions of their famous dishes!
Recipe: (makes about 6 servings)
Ingredients:
4 cups romaine lettuce, cut into bite size pieces
3 cups cabbage, shredded
1 cup carrots, shredded
4-5 wonton wrappers (for air fryer version) OR can buy pre-made wonton strips
1/4 cup cilantro, stems removed
1/4 cup green onions, chopped
1 tbsp sesame seeds
2 chicken breasts (optional)
optional toppings / ingredients:
sliced almonds
avocado
Dressing:
2 tbsp avocado oil
1/4 cup Rice vinegar
1 tbsp Sesame oil
**1 tbsp soy sauce
1 tsp fresh ginger, grated
1/4 cup hoisin sauce OR see below for healthier alternative
Healthier hoisin sauce (makes 1/4 cup)
**1/8 cup light soy sauce
1 tbsp natural peanut butter (read ingredients, should just be made of peanuts)
1 tbsp honey
1 tsp rice vinegar
1 tsp sesame oil
1/2 tsp miso paste
1 clove garlic, grated
**sub tamari or coconut / liquid aminos for gluten free
Instructions:
For chicken:
Bring a pot of water to a boil.
Once boiling, add chicken in and cook on medium high heat for 20-25 minutes.
Once time is up, place chicken in cold water immediately to stop cooking and let sit for about 5 minutes, until cool.
Pat chicken dry and place in large bowl. Use two forks to shred the chicken into small bite size pieces.
For dressing:
Combine all dressing ingredients in a bowl and whisk until well combined.
For air fryer wonton strips:
Take about 6-8 wonton wrappers from package, keeping them stacked together. Cut entire square into 16 pieces so each strip is about 1 1/2” x 1/2”
Separate all strips from each other and place into a bowl (it’s okay if some are still stuck together, they will separate in the air fryer.)
spray a little avocado oil (option to omit oil, it will still work.) Mix well until all strips are evenly coated.
Place strips in air fryer basket and set air fryer to 350 degrees F for about 8 minutes or until golden brown and crispy.
Once done, let cool
For salad:
Place all salad ingredients except avocado, if using.
Pour dressing over salad mixture and toss well to combine (start with a little dressing and add more as needed by preference)
Top with avocado (if using) and serve immediately!